> ## Documentation Index
> Fetch the complete documentation index at: https://docs.rayinai.com/llms.txt
> Use this file to discover all available pages before exploring further.
# Codex
> Codex 配置教程
## 环境准备
请先完成 [环境配置](/environment/setup),确保 Node.js 已正确安装
**Windows 用户必读**:Codex 需要在 WSL 环境中运行
## 安装
**方法一:Homebrew(推荐)**
```bash theme={null}
brew install codex
```
**方法二:NPM**
```bash theme={null}
npm i -g @openai/codex --registry=https://registry.npmmirror.com
```
在 WSL 终端中运行:
```bash theme={null}
npm i -g @openai/codex --registry=https://registry.npmmirror.com
```
在终端中运行:
```bash theme={null}
npm i -g @openai/codex --registry=https://registry.npmmirror.com
```
## 配置
配置文件位于:
* **macOS/Linux**: `~/.codex/`
* **Windows**: `~/.codex/`
**1. 创建 config.toml**
```toml theme={null}
model_provider = "rayinai"
model = "gpt-5.3-codex"
model_reasoning_effort = "xhigh"
disable_response_storage = true
model_verbosity = "high"
network_access = true
[model_providers.rayinai]
name = "rayinai"
base_url = "https://code.rayinai.com/v1"
wire_api = "responses"
requires_openai_auth = true
```
**Windows 用户**需额外添加 `windows_wsl_setup_acknowledged = true`
**2. 创建 auth.json**
```json theme={null}
{
"OPENAI_API_KEY": "your-api-key-here"
}
```
将 `your-api-key-here` 替换为你的 API Key
## 使用
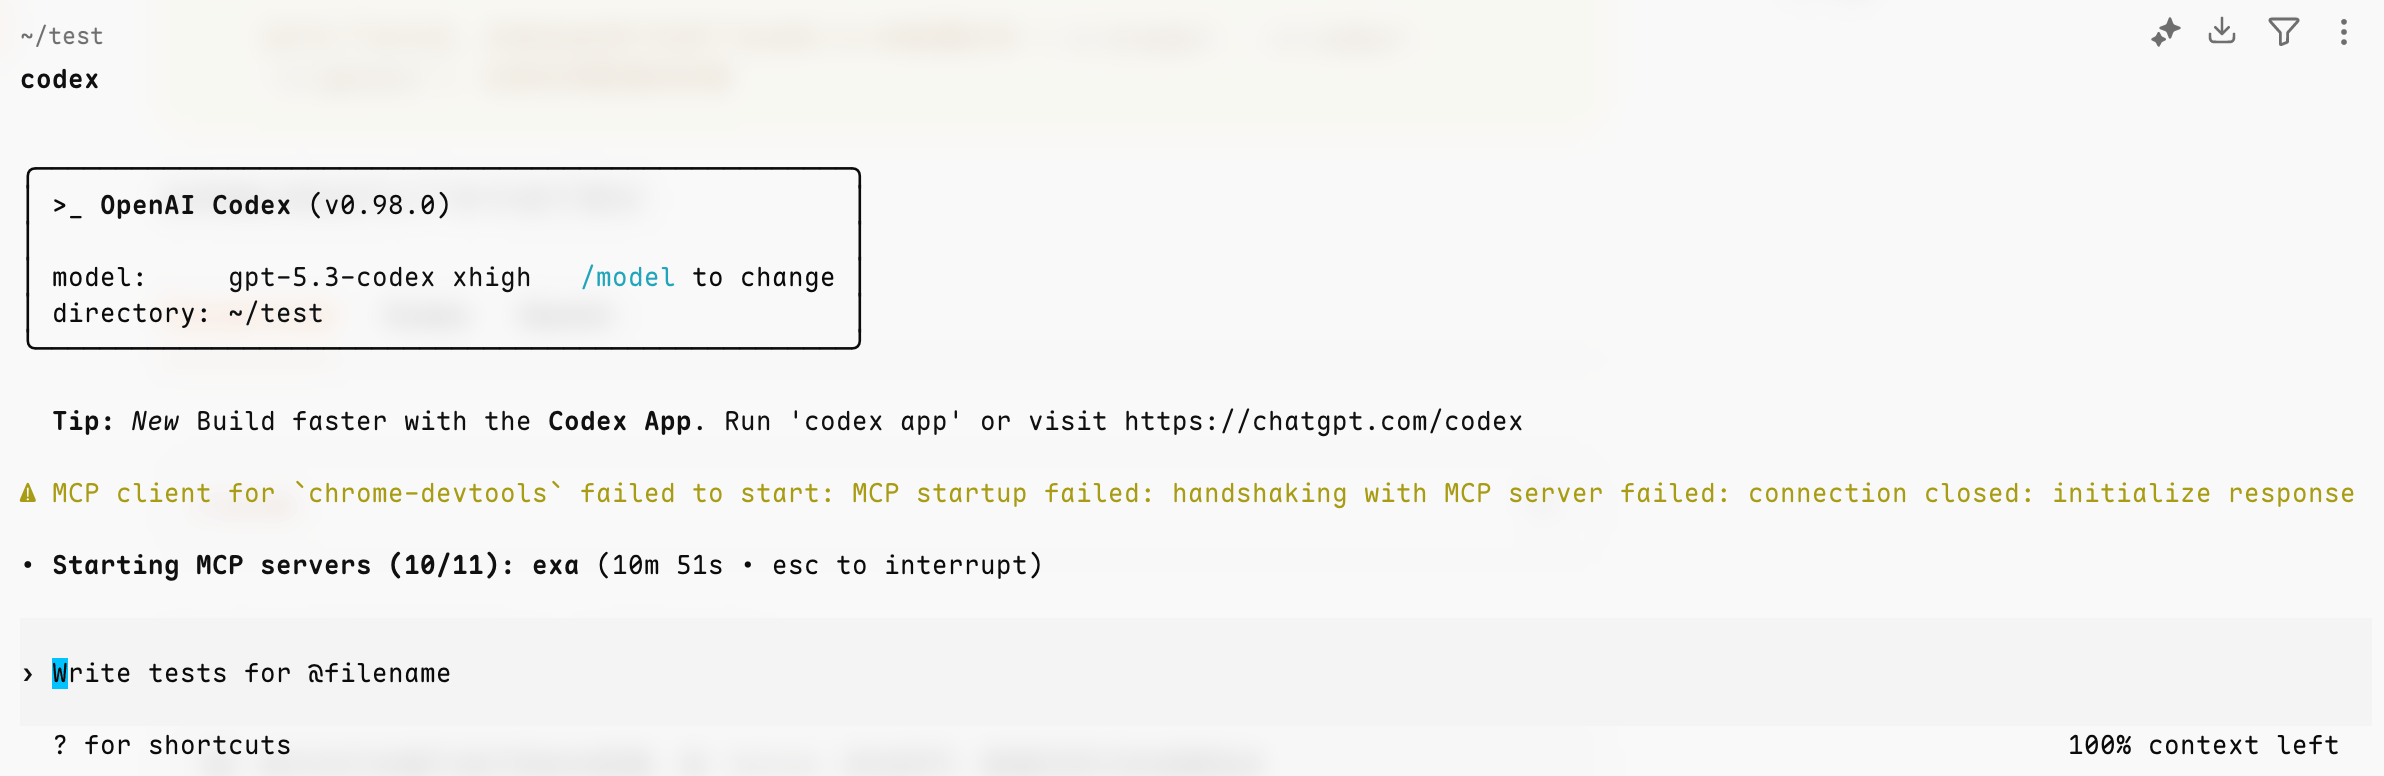
在终端运行 `codex`,看到对话界面并能正常回复即表示配置完成
```bash theme={null}
codex
```
 ## 遇到问题
查看 Codex 配置相关的常见问题
## 遇到问题
查看 Codex 配置相关的常见问题